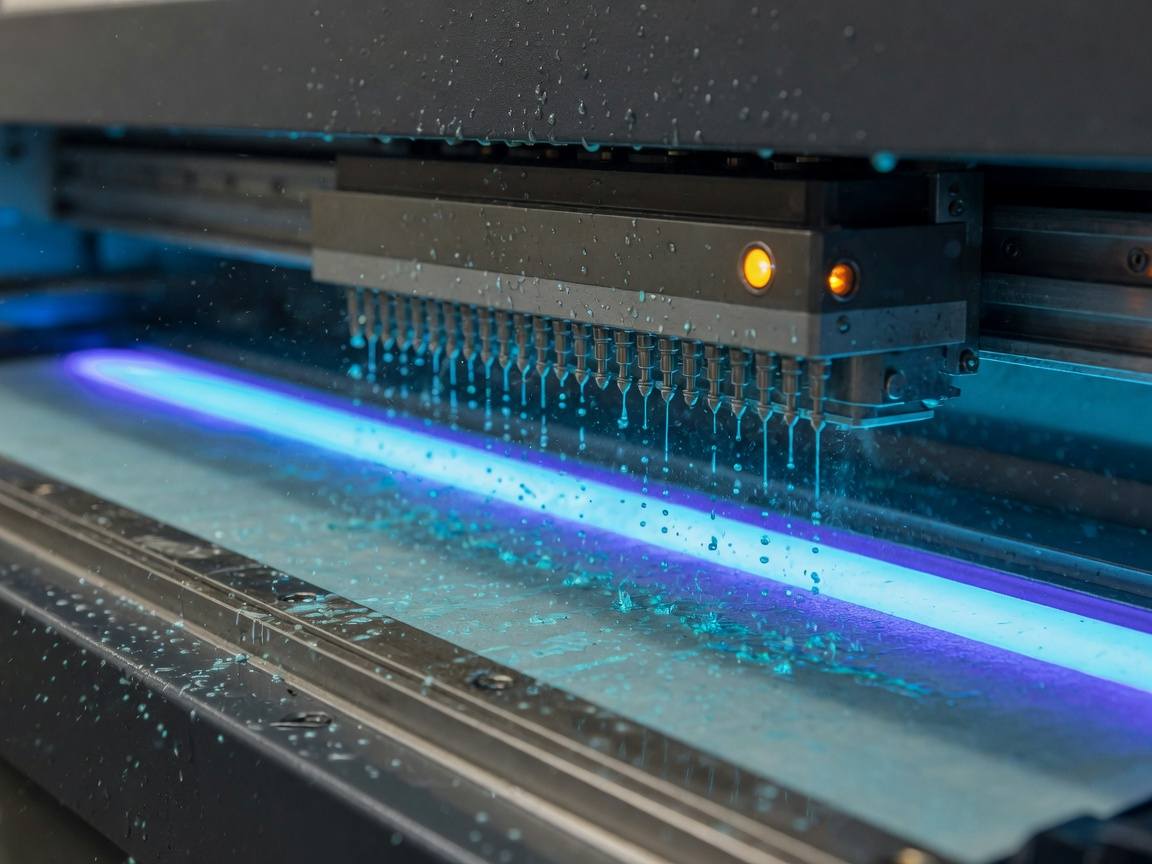
One-pass UV DTF sounds like a single action, but it is three transfers happening at once. White, CMYK, and varnish are laid down in a controlled order so the finished sticker acts like a printed object rather than a decal that lifts at the first corner. Understanding the order is what turns a good file into a reliable file.
Layer one — the white underbase
White goes down first because nothing else can sit behind it. On clear or dark film the underbase is what makes the colour read true. It is the opacity that gives the sticker body, so it is usually laid at full using the shape you masked in the artwork — no thinner, no bleed into the wrong region.
Layer two — CMYK colour
Colour rides on top of the white in the same pass. Because it never touches the substrate, cyan, magenta, yellow, and key behave like ink on paper again: predictable, opaque enough where the underbase is solid, and fresh-looking. This is why the colour profile you choose matters — it is tuned for the same machine and ink set every single run.
Tip: keep the design's white knocked out or a dedicated spot white, then let the RIP rebuild the underbase. Double white under a knock-out is the classic cause of a hard printed edge.
Layer three — the varnish
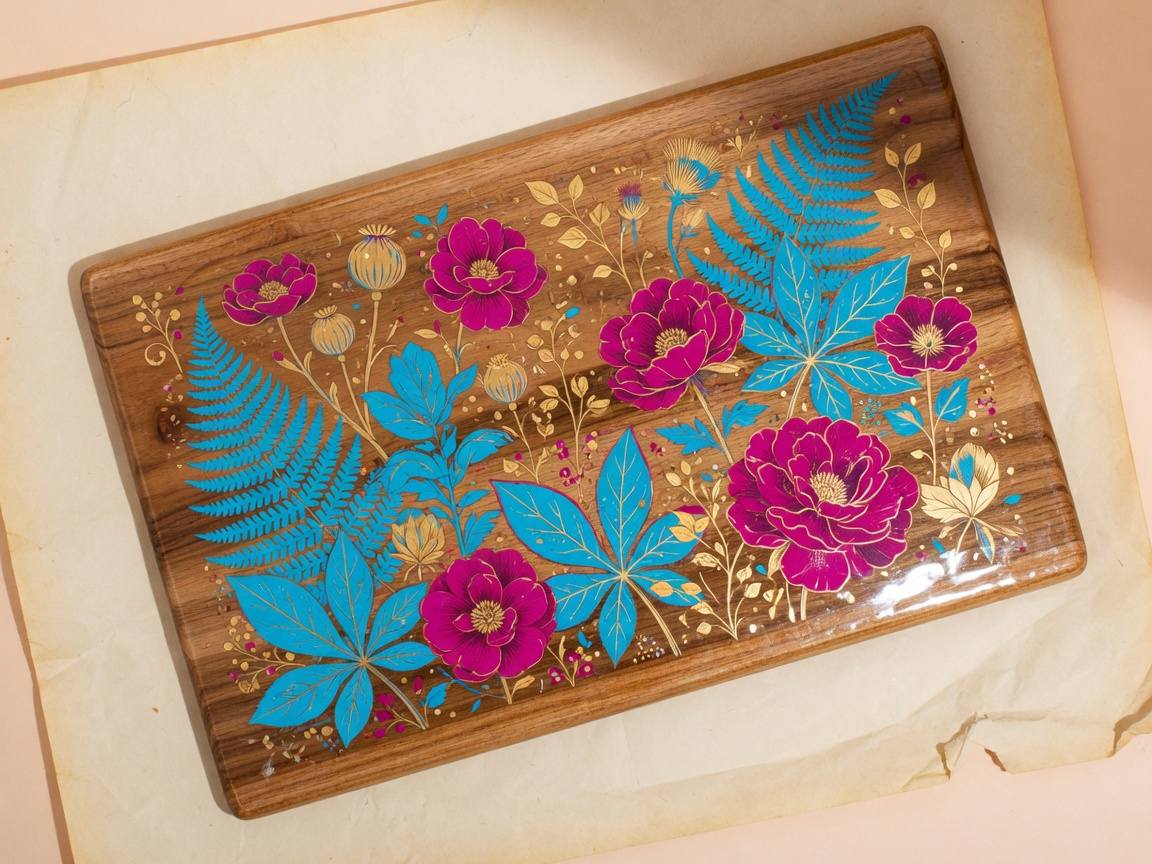
Varnish seals the stack. It adds the gloss or matte finish, protects the colour from scuffing, and gives the sticker the hand-feel of a real product. Because it overprints everything in the same pass, its path follows the artwork — so a second, slightly expanded shape can carry the protective coat right to the edge without altering the colour.
Reading a finished transfer
When the stack is right, the transfer is opaque, smooth, and glossy where it should be. When it is wrong — dark film showing through, a foggy edge, or a sticker that curls — the fault usually maps back to one layer: underbase coverage, profile mismatch, or a varnish path that missed.