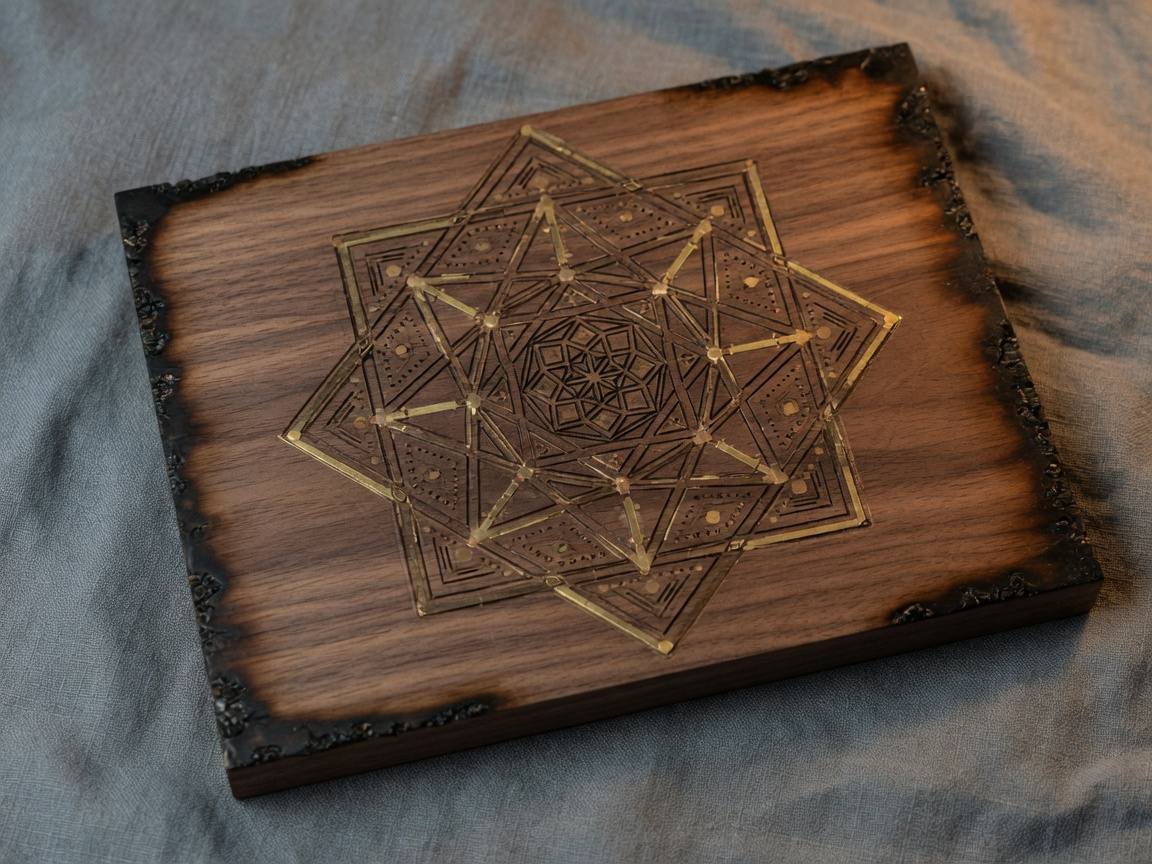
Wood, metal, and acrylic behave nothing alike under a fiber laser. The machine does not care — it fires the same beam. The operator's craft is choosing the right power, speed, and frequency for each surface so the mark reads clean and stays put.
Start with the material, not the tool
Every material has a sweet spot: how much energy it absorbs, how it chars, and whether it needs a primer or a cleaning pass. Naming the file after the material and the setting it ships with turns one good job into a library of repeatable jobs.
Wood — the mark is a burn
On walnut or other hardwoods the laser darkens the surface. It is forgiving if the power is slightly high, but a low-power first pass keeps edges crisp and prevents scorching the area around the mark that is supposed to stay pale.
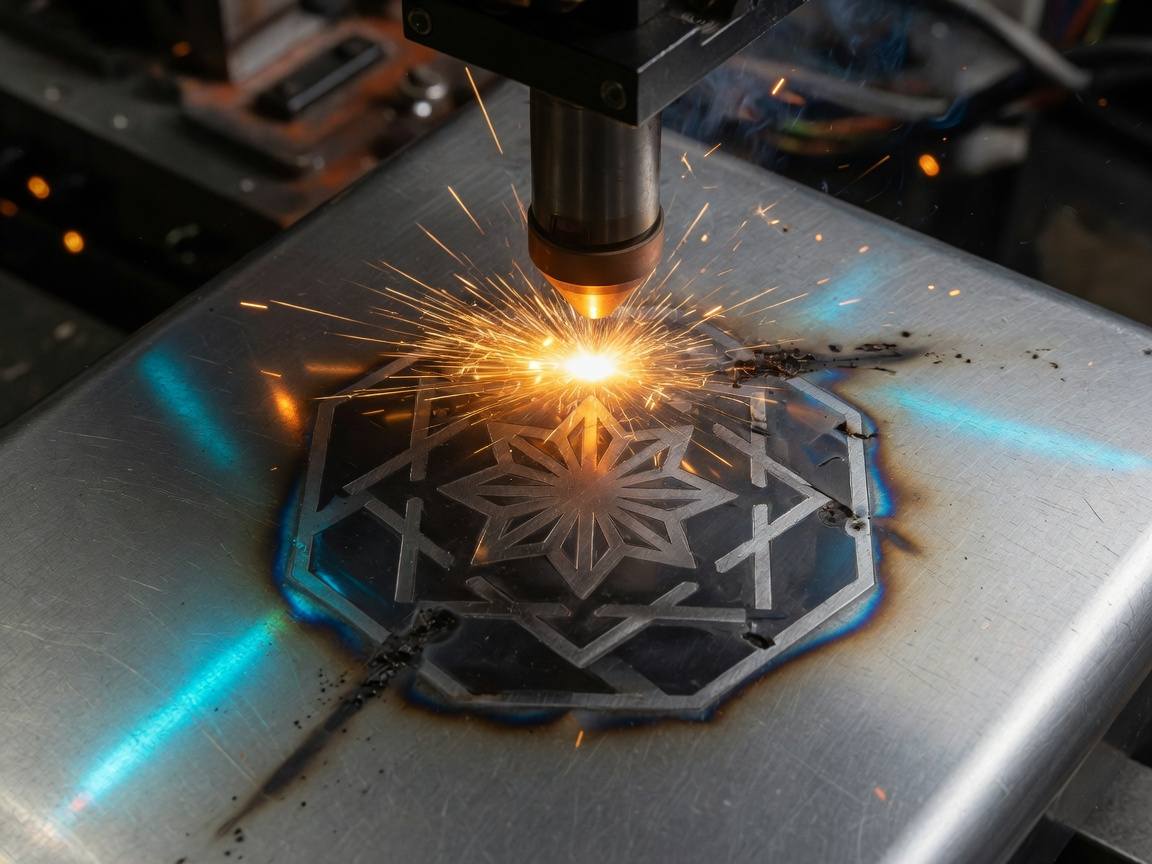
Metal — speed and frequency matter
On metal the mark is a controlled surface change. Frequency controls how the beam works the surface, and speed controls how long each spot is heated. Work on a scrap of the same alloy first; marking wrong on metal is the most expensive mistake here.
Acrylic — clean edges are the win
Acrylic wants a fast pass with enough power to cut or mark cleanly rather than melt. When settings drift, you get a foggy edge instead of a frosted one. Confirm on offcut, then run the whole sheet.
Rule of thumb: write the material into the filename, keep a per-material settings sheet at the machine, and always test on the same stock before the real piece.